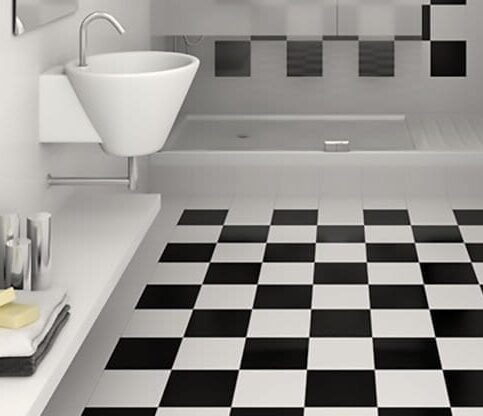
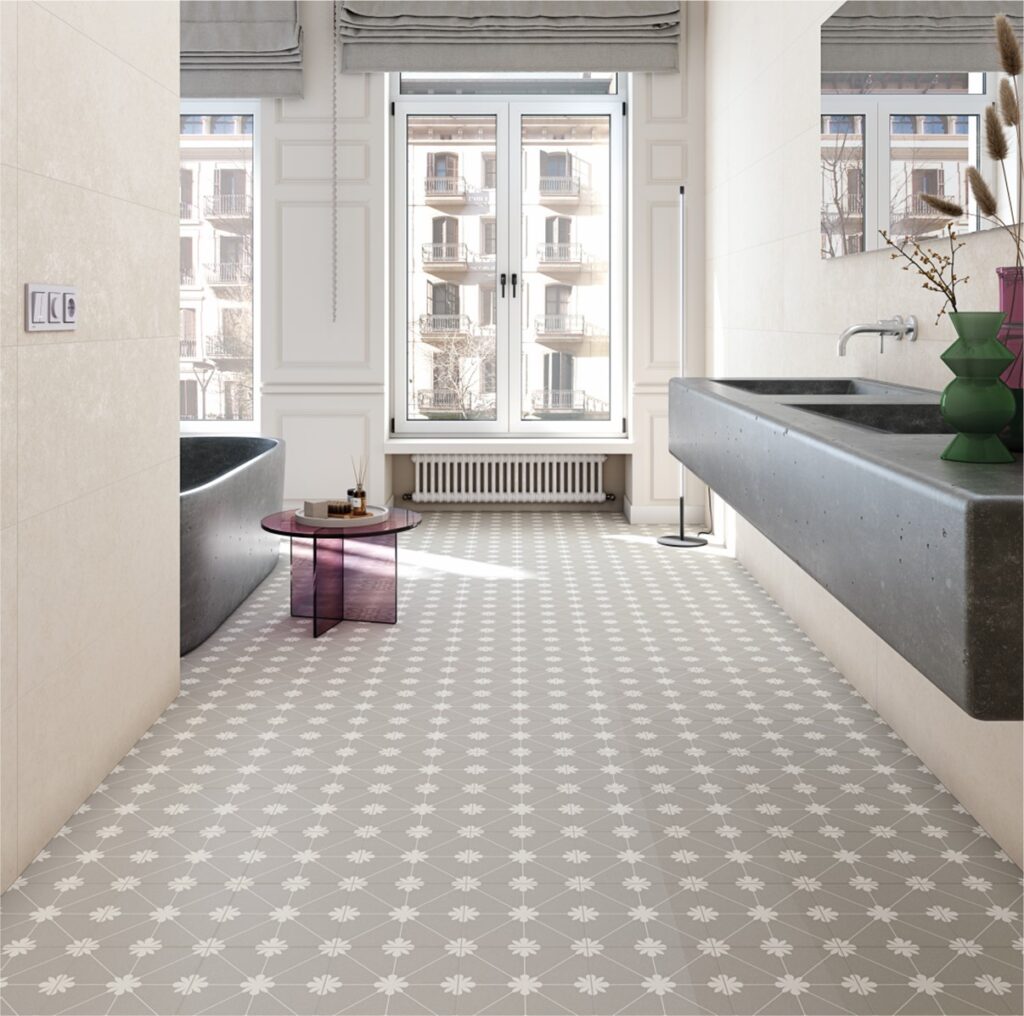
Wondering whether you can paint your floor tiles to breathe some new life into your home? Well, yes – you can!
But before you whip out your paint tin and brush, there are a few things you need to consider and prepare for. There’s a little more to it than just going straight in with a coat over your tiles.
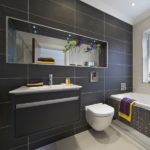
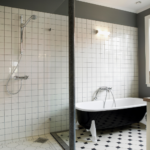
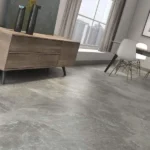
Whether you’re looking to update your bathroom, kitchen, or any other tiled area in your home, we’ve put together a simple guide to help you get the job done right.
What You Need to Paint Your Floor Tiles
Make sure that you’ve got absolutely everything that you need before you get started.
Painting and sealing phases can require speciality supplies to be completed, and you need to follow the process methodically from start to reveal.
Make sure you’ve got all of the following…
|
Alaska
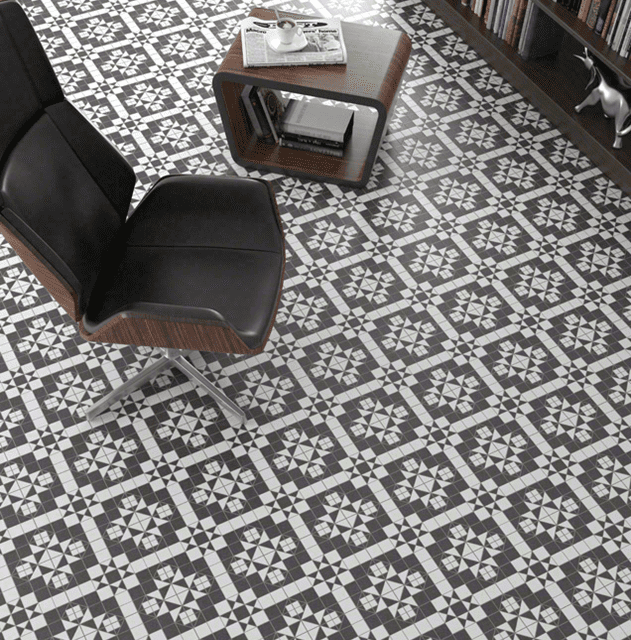
Dorset
Muaya
Select Durable Tile Paint Suited for High-Traffic Areas
You’ll want to select quality, long-lasting paints designed explicitly for interior hard floors, as these will be subjected to high-traffic areas and need to withstand daily wear and tear.
Look for paints that are specifically formulated for tile or concrete floors, as they will adhere better and provide better coverage.

Before You Get Started…Do a Paint Patch Test
Paint adheres well to clean, absorbent surfaces. So, smooth, shiny, or water-resistant glazed ceramic tiles can be a challenge.
Getting paint to adhere to these surfaces requires you to roughen them first by etching. There are chemical options available, and you can sand tiles by hand.
Test your sample areas to gauge which preparations are needed and watch how the paint clings to the tiles for a few minutes after the application.
If you notice pooling and no grip within 10 minutes, try more etching to ensure that there’s enough porousness for durable holding over the long term.
Tile material is important for assessing compatibility.
How to Paint Floor Tiles: Step-by-Step
After you’ve done a small patch test, you can get started on the actual painting process.
We’ve detailed out the steps below to help guide you through how to do this as easily as possible…
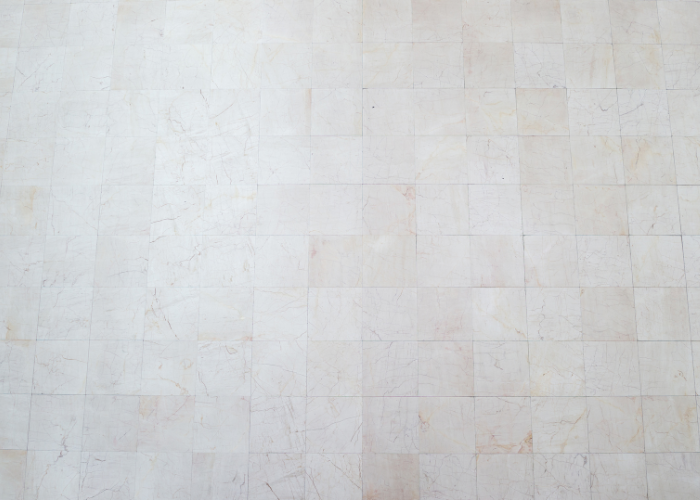
Step 1) Thoroughly Clean the Floor Tiles
Paint won’t stick to oily residues or soils that have built up on tiles over the years. These kinds of nuisance materials can build up without you noticing, and they’re not always easy to see at a glance.
Get some proper cleaning materials. You should use degreasing agents to eliminate these unseen barriers. Rinse the tiles thoroughly to prevent any chemistry interference with your painting.
Inspect them closely and feel for smoothness to make sure they’re ready to go!
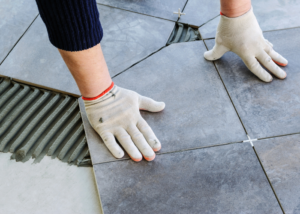
Complete Any Tile Repairs Beforehand
As well as cleaning, you should inspect your tiles closely, looking for any loose tiles, missing grout or broken edges that need adjustments like replacing or filling before you start painting.
Otherwise, your makeovers won’t be able to hide underlying issues, and they’ll degrade further after the chemicals interact. Address faults fully first.
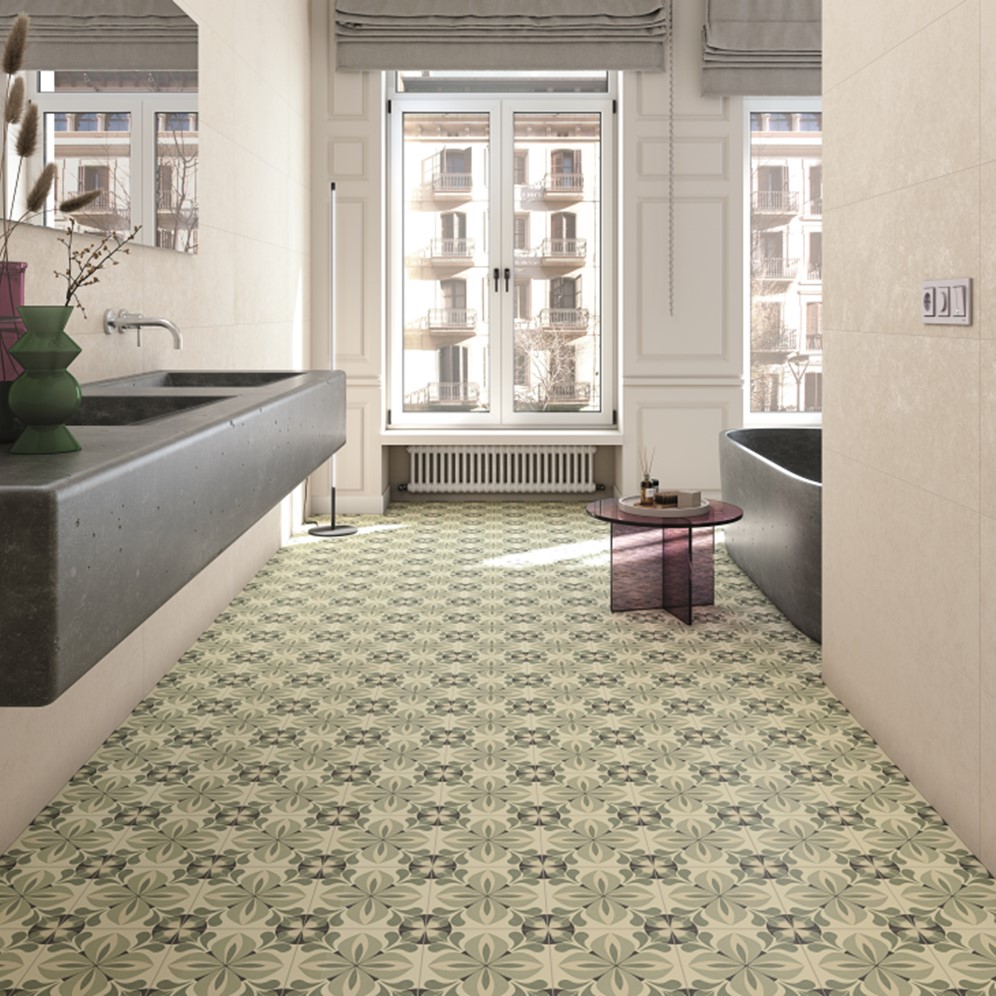
Memory
Santa Fe
Tuban
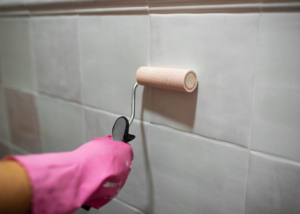
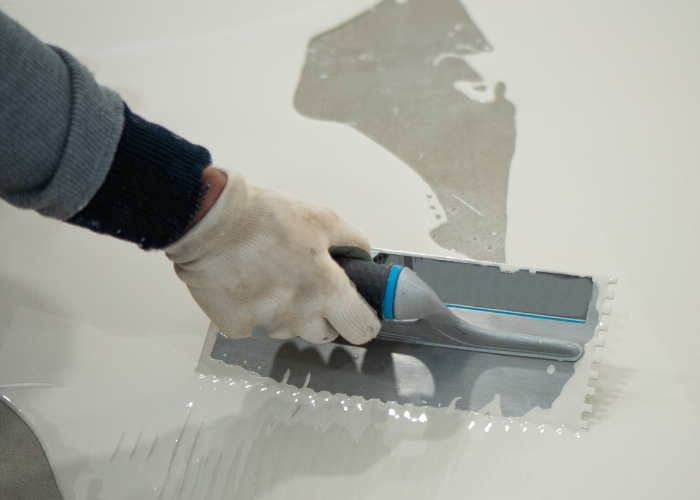
Step 2) Prime Porous Areas & Textures to Add Paint Grip
Next, you’ll want to prime any bare surfaces and porous areas. This includes tiles with a matte or glossy finish, as well as textured tiles like stone or brick.
Priming these areas will help the paint adhere better and prevent it from peeling or chipping in the future. Use a quality primer that is specifically designed for use on tiles and follow the instructions carefully.
Allow the primer to dry completely before moving on to the next step, which could take a good few hours depending on the product you used.
Make sure to open windows and doors for proper ventilation while the primer is drying.
| Open windows to let cross-breezes in and use fans to keep the air moving if you can afford it. Face masks might also be a good idea. |
Step 3) Apply Your Floor Tile Paint
Once the primer is completely dry, it’s time to apply your floor tile paint.
Depending on your floor size or the size of the tiles, you may want to use a brush or a roller for this step.
Start by painting the edges of the room first using a paintbrush, and then move on to filling in the larger areas with a roller. Make sure to apply an even coat of paint and avoid going over the same spot multiple times as this can create uneven layers.
You may need to apply multiple coats of paint, especially if you are covering up a dark or bold colour. Allow each coat to dry completely before applying another one.
Top Tip: Check Your Work As You Go
As you’re painting, you should stop every now and then and do a ‘stand-back’ visual check. This will help you spot any missed spots or uneven areas that may need a touch-up.
You’ll also be able to spot if there are any bits of dirt or debris, like paintbrush bristles, that have gotten stuck in the paint. Simply remove them with tweezers and touch up the area.
Step 4) Seal Painted Floors With Durable Clear Protectants
Once you’ve finished painting and all of the layers are dry, it’s important to seal your newly painted floors with a clear protectant. This will help prevent scratches, stains, and other forms of wear and tear.
You can choose from a variety of clear protectants, such as polyurethane or epoxy. Just make sure to read the instructions carefully and apply the sealant according to their recommendations.
Not only will this step add an extra layer of protection for your newly painted floors, but it will also give them a beautiful glossy finish. Your floors will look professionally done and last for years to come.
How to Make Your Painted Floor Tiles Last
After all that hard work of painting and sealing your floor tiles, you’ll want to make sure they last as long as possible. This will be especially important for busy areas in your home, like the kitchen or bathroom.
Some of our top tips for making your painted floor tiles last include:
|
Summary: The Best Way to Paint Floor Tiles
With a little work, you can transform tired tiles through strategic planning, conscientious preparations, and flawless painting/sealing stages to deliver dramatically improved interior living spaces.
If you have any questions about anything tile-related, don’t hesitate to get in touch with our expert team! We know just about everything there is to know about tiling projects and will be more than happy to help you out.
Or, you can head over to the rest of our blog for more tips, advice, and inspiration!
FAQs
Yes, painting floor tiles is a great idea! It allows you to switch up the look of your space without having to go through the process of replacing tiles.
Latex, acrylic latex, and enamel paints are the best paints for ceramic tiles. Make sure to prime your tiles beforehand to ensure the paint can absorb properly.
Yes, priming your floor tiles before painting helps the paint to adhere better to the tiles. It’s best to apply the primer the evening before so it has time to absorb.