Knowing how to remove floor tiles without causing damage can seem like a tricky task, but with the right tools and techniques, it can be done easily. And luckily, we’ve got you covered with some sound advice!
Whether you’re replacing damaged tiling, revamping your home, or renovating a property, understanding the proper way to remove floor tiles is crucial.
Not only will it save you time and money, but it can also prevent any accidents or mishaps during the process.
In this guide, we’ll cover some essential tips and tricks for beginners on how to remove floor tiles effectively.
From the necessary tools to step-by-step instructions, we’ll have you removing floor tiles like a pro in no time!
Is it Easy to Remove Floor Tiles Yourself?
Many tiling projects are better handled by professionals (like our team here at Bridport Glass & Tile Centre), particularly when it comes to laying tiles.
But actually, removing tiles is a bit simpler, so it’s definitely possible to do it yourself.
Really, the process involves breaking the tiles and lifting them up in pieces (that’s in very basic terms, at least). You may find it helpful to have someone do the job with you, as it can be a bit of a workout to remove tiles – but it’s feasible for beginners.
Tools You Will Need to Remove Foor Tiles
Before diving into the process of removing floor tiles, it’s crucial to gather all the necessary tools.
Here are some essential items that you will need:
|
How to Remove Floor Tiles: Step-by-Step
Once you’ve got all the important tools needed, it’s time to start removing those floor tiles! We’ve laid it out in a simple step-by-step guide for you below so you can follow along easily:
Step 1: Prepare the Work Area
First things first, you’ll want to remove all furniture, valuables, and furnishings from the room you’ll be working in. This will give you enough space to move around and prevent any damage to your belongings.
Next, cover any vents or openings with plastic sheets to prevent dust from spreading throughout the house.
You should also pop on your safety gear at this point, including safety glasses, gloves and a dust mask.
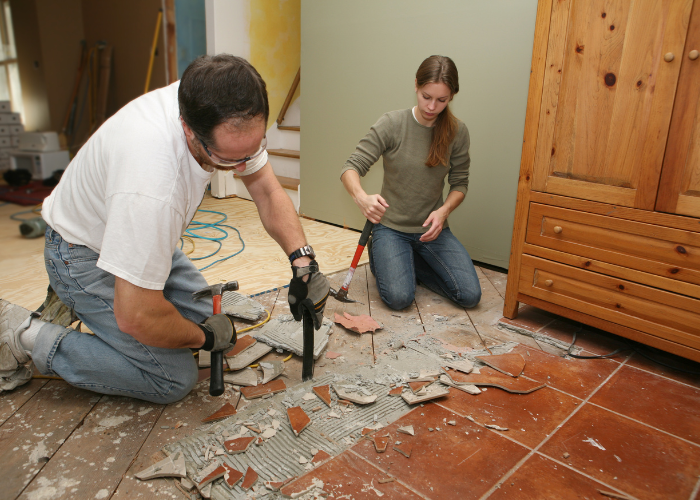
Step 2: Break Each Tile With a Hammer
Using your hammer, start breaking the tiles by tapping them gently. Aim for the centre of each, using a bit of force (but not too much) to crack them.
You can also use a chisel and tap the hammer onto it if the hammer alone won’t do the job. This will help break down any stubborn tiles that are not budging.
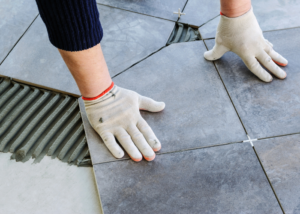
Step 3: Remove The Tiles
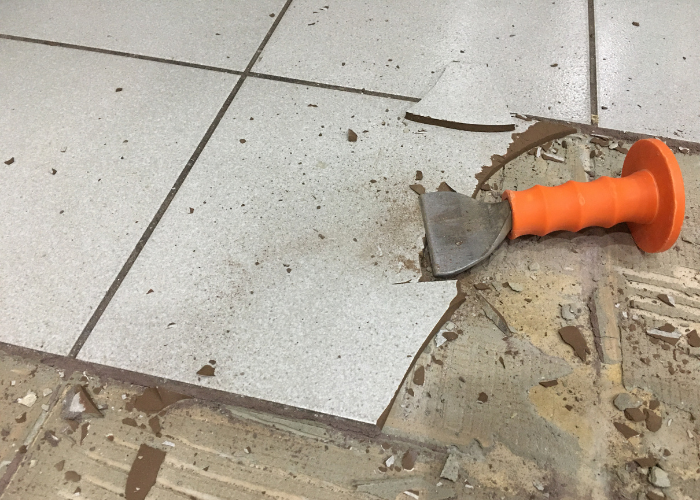
Once you’ve broken the first tile, you can start working your way across the rest of the floor. Use the chisel or putty knife to pry up the broken pieces and remove them from the floor.
For larger sections of tiles, you can use a pry bar or crowbar to help lift them up. Work slowly and carefully to avoid any accidental damage to the floor.
Step 4: Remove Debris As You Go
Rather than waiting right until the end of your project, we recommend removing any debris and small pieces of tile as you go. This will prevent them from becoming embedded in the floor or causing any accidents.
Put the pieces of tile into a bucket or bag as you go to make clean-up easier later on.
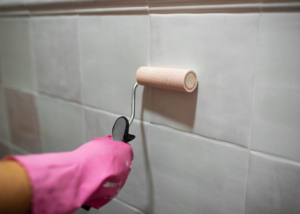
Step 5: Remove the Grout & Adhesive
After removing all the tiles, there will likely be some adhesive and grout left on the floor. Use a putty knife or scraper to loosen and remove as much of it as possible.
For more stubborn areas, you can use a heat gun to soften the adhesive before scraping it off.
Step 6: Clean Up
Once you’ve removed all the tiles, grout and adhesive, give the floor a thorough clean. Use a vacuum cleaner to remove any debris and dust, and then mop the floor with warm water and a mild detergent.
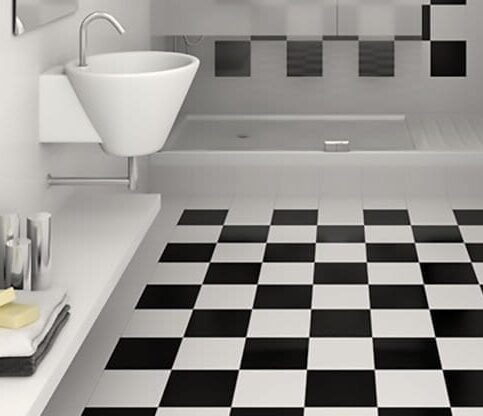
Allow the floor to dry completely before going ahead with laying your new tiles or flooring of your choice.
What is the Fastest Way to Remove Floor Tiles?
If you’re renovating a room or a whole house, we know you’re probably keen to get every job done as quickly and efficiently as possible. So, what’s the fastest way to remove floor tiles?
Some tips for a faster tile removal process include:
- Renting or purchasing heavy-duty tools like a demolition hammer or floor scraper.
- Working in small sections at a time rather than trying to tackle the entire floor at once.
- Use a tile drill to drill holes in the tile before breaking it up with a hammer.
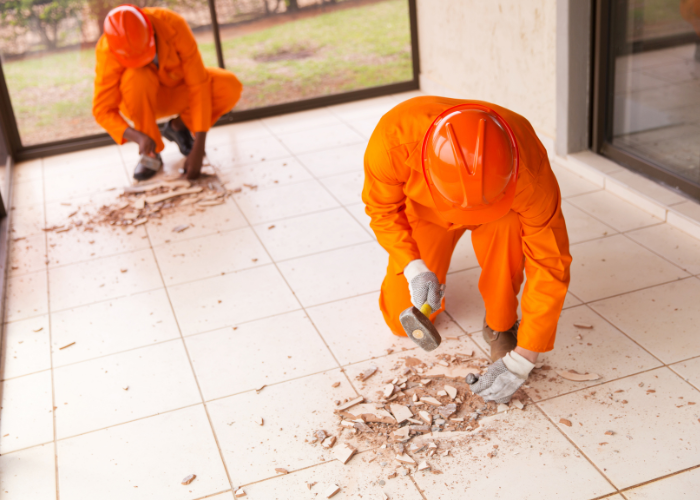
- Have more than one person working on the project to speed up the process.
Really, though, there’s only so fast you can make this process! It’s important to take your time and work carefully to avoid damaging the subfloor or causing any accidents.
Can You Remove Floor Tiles Without Breaking Them?
If the original tiles were expensive or had some sort of special meaning to you (or you simply like the design), you may be wondering if it’s possible to remove them without breaking them.
The short answer is: maybe. It really depends on how securely they were installed and how carefully you are able to remove them.
If you do want to try and save the tiles, we recommend using a heat gun or warm water to soften the adhesive before slowly and carefully prying them up with a putty knife or scraper.
Just remember that even with the most careful methods, there is still a risk of breaking one or more tiles during removal. So proceed with caution and be prepared for some potential casualties.
Alaska
Dorset
Muaya
Conclusion: Remove Floor Tiles Easily With Bridport Glass & Tile Centre
When it comes to removing floor tiles, preparation and the right tools are key. By following our step-by-step guide and using the necessary safety gear, you can successfully remove floor tiles without causing any damage.
And if you’re looking for a reliable team of professionals to handle your tiling needs, look no further than Bridport Glass & Tile Centre! Contact us today for all your tiling and glass needs. We’re always happy to help!
FAQs
Yes, you can certainly remove floor tiles yourself. Make sure you have the necessary equipment on hand, such as a hammer and chisel and pry bars.
A chisel is most certainly needed when removing floor tiles. It will allow you to reach corners that are difficult to access, and it is also cost-effective.
You should use a chisel to even out the surface and then use a vacuum to clean up any debris.
Things like the type of tile, adhesive used, and how secure they were installed can all impact how difficult it will be to remove old floor tiles. With the right tools and techniques, it should be doable for beginners.